
Follow this step-by-step guide on posting an interview to your Parkbench site.
So you've done your first interview but have no idea how to get it onto the site? Or perhaps it has been a while since your last post and you just need a refresher? Below is a step by step tutorial to help you get it posted.
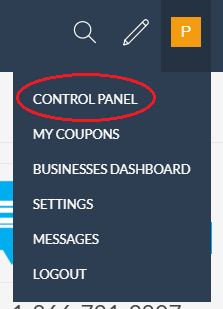
1. Click on your picture or initials in the top right corner. This will open a drop down menu.
2. Click on "Control Panel"
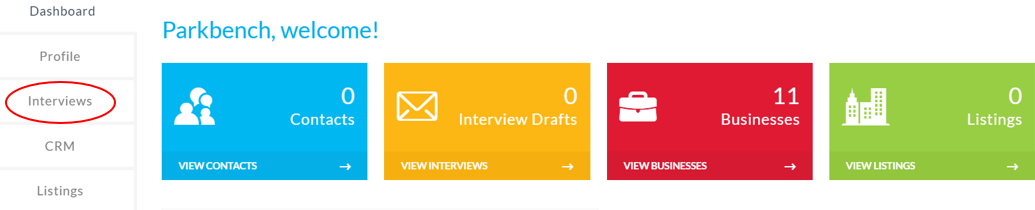
3. Click on the "Interview" tab located on the left side of the page
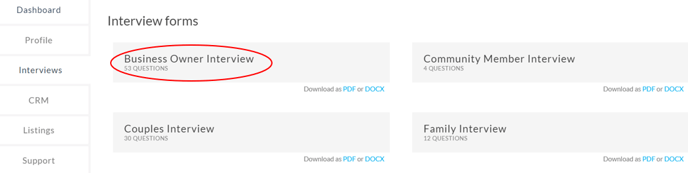
4. Listed here are the available Interview Templates. Click on the template that best suits your interviewee.
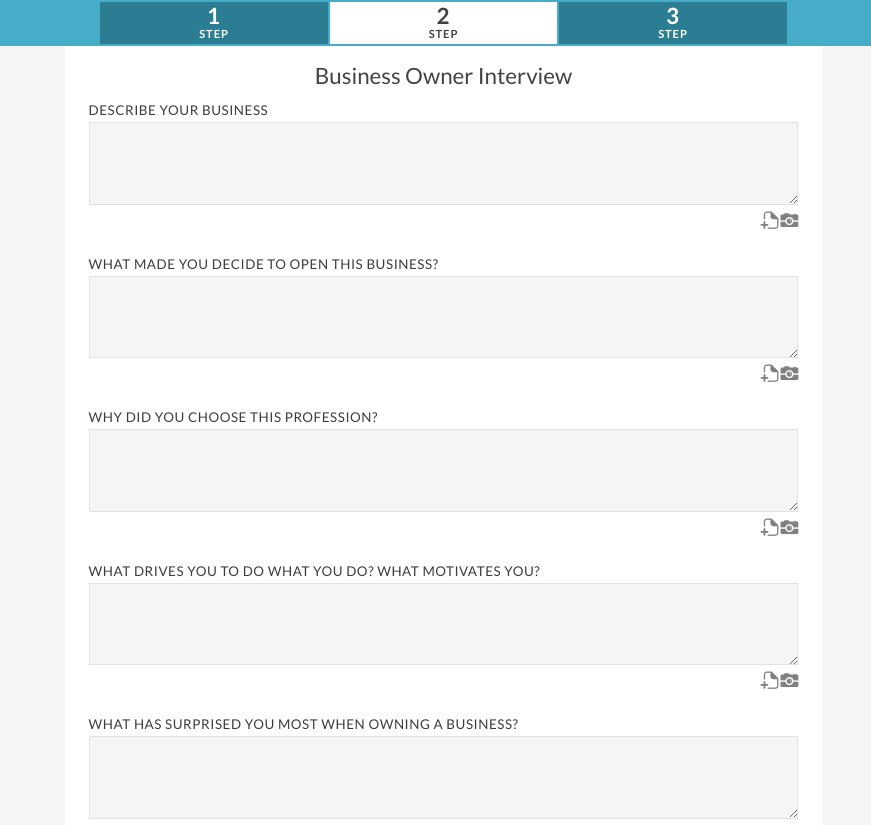
From here there are 3 steps when completing the interview template.
Step 1
This information is added to the interviewee's business profile page which is automatically created for the interviewee in your directory. Please note mandatory fields are starred with a red asterisks.
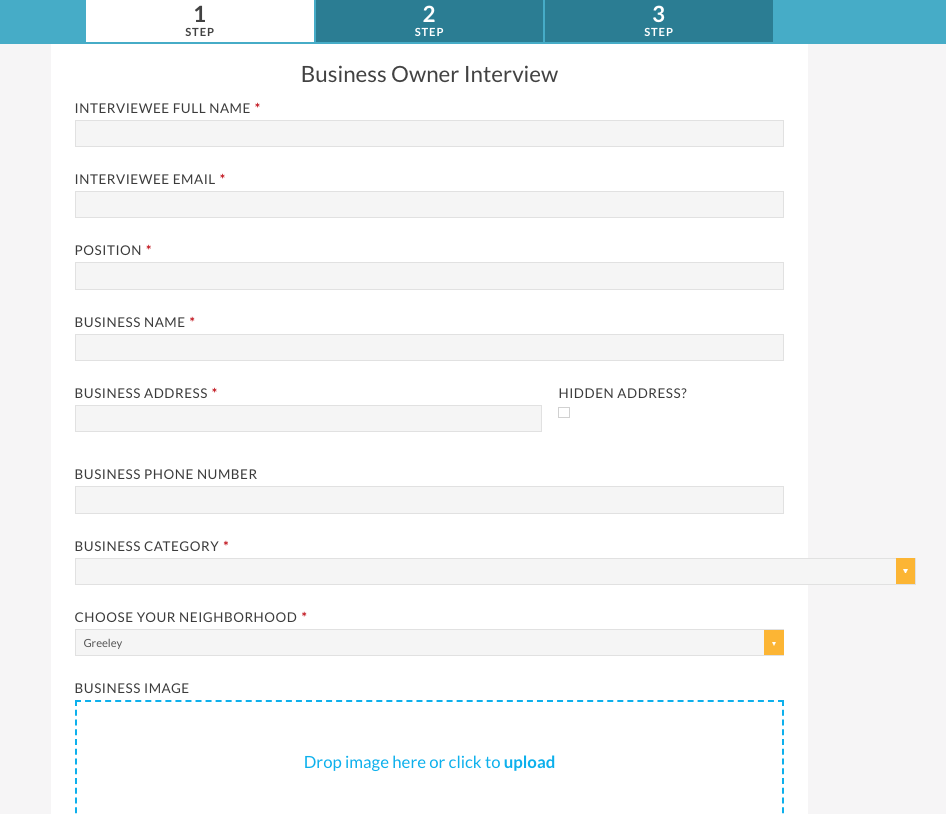
The Business Image can be a photo of the business' store front, logo or a product that they sell.
The Review Coupon and New Customer Coupon fields can be used to create deals on Parkbench.
Step 2
This is where you can add the answers to the questions you have asked. It is recommended that you ask at least 5 questions during the interviews. Answers should be written in full sentences.
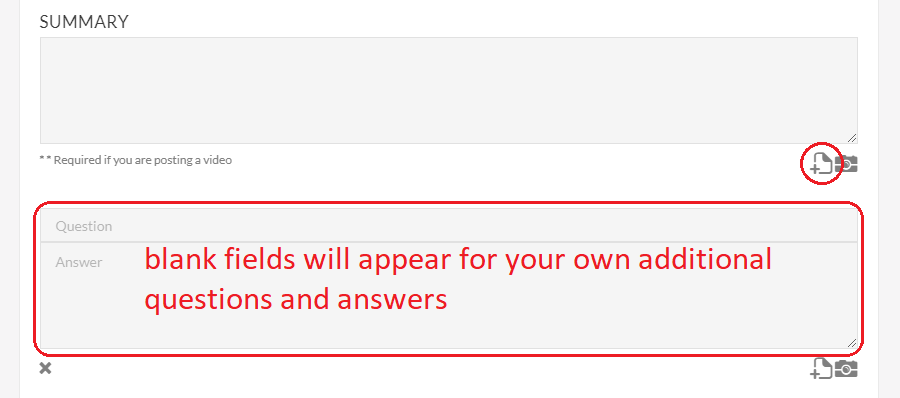
To add your own questions select the icon highlighted in the image below.
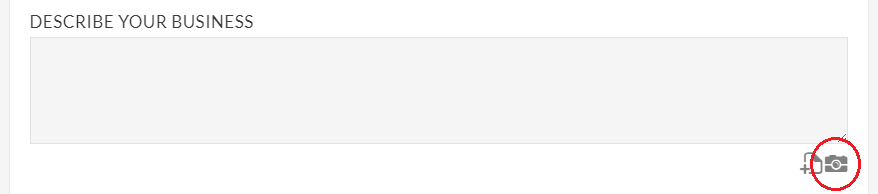
Photographs really help your audience to learn more about the business they are reading about. Photographs can be added underneath questions, this breaks up the text and makes the interview more visually appealing. To add photographs click the camera icon highlighted below.
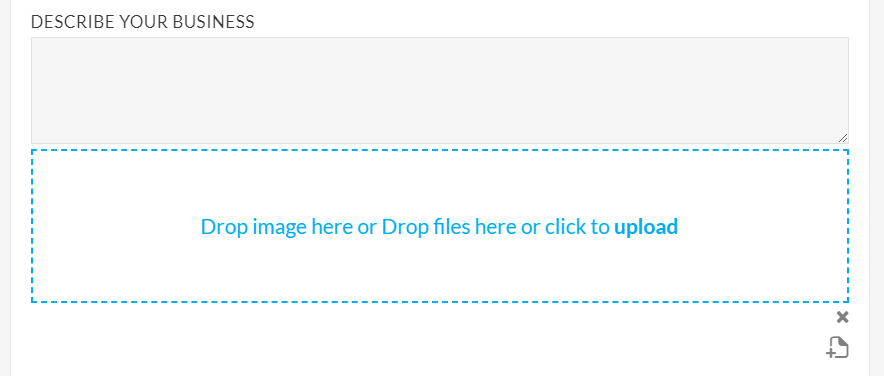
A blue space will appear under the question, where you can drag and drop photos to add to the interview.
If you do not want to answer a question on the template, you can leave the space blank and it will not appear in the interview.
Step 3
Here you create the interview title and thumbnail.
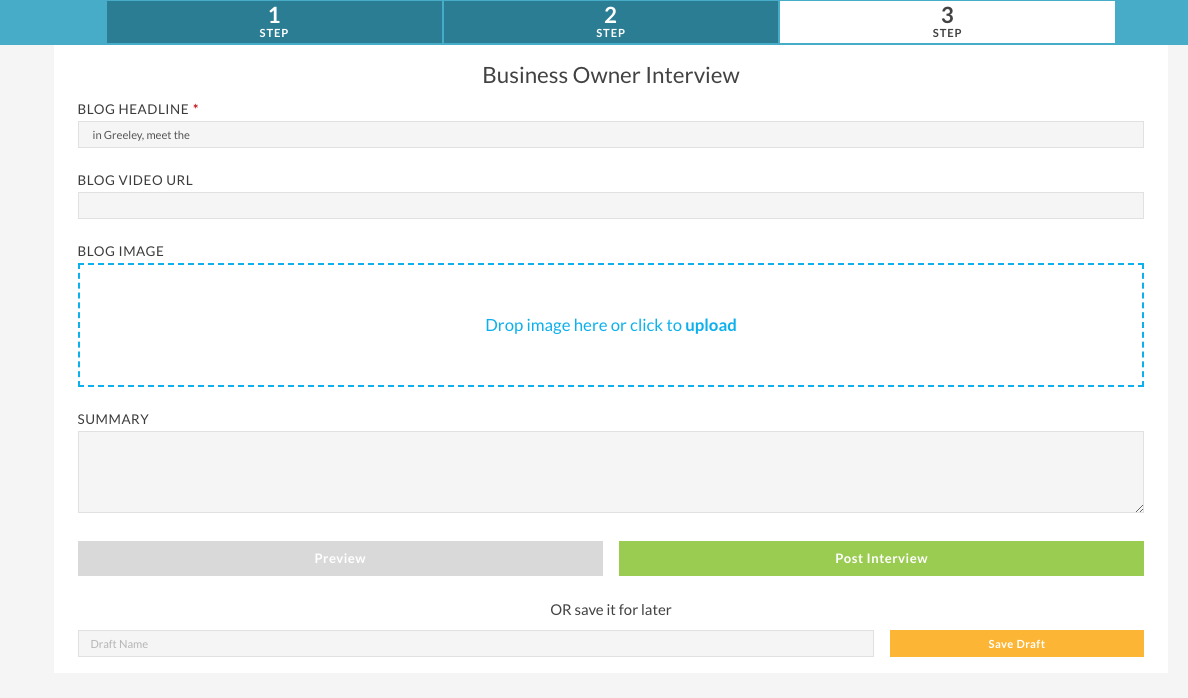
The Blog Headline is the interview title, it auto populates using key information added in step 1. However, you are able to edit the blog headline.
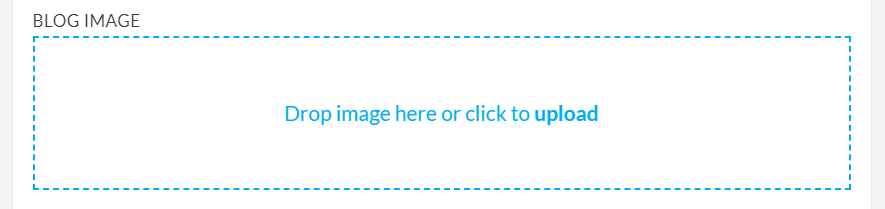
The Blog Image should be a photograph of you and the interviewee, this will be the preview image for the interview. This image will also appear at the very top of the interview.
You are able to save your interview as a draft if it is not completed, enter a draft name for the interview and click on “Save Draft”.
You can also preview the interview before posting.
When the interview is complete, click 'Post Interview.'

Voila! You've just posted your interview on the platform! Now remember to share the interview on your social media channels.