How to Create a Calendly Event for Interview Booking
- Create a Calendly Account here: https://calendly.com/signup
- Connect your Gmail Calendar
- Here is a useful resource on how to sync your Calendly with your Gmail calendar: How to connect your calendar to Google Calendar
Creating Event for Interview Bookings:
- From the Calendly Home page, use the blue + Create button to select New Event Type.

- Select "One-on-One" as the event type.

- Enter in the Event Name, Location and Description.
- Event Name: Local Business Spotlight
- Location: Ask Invitee
- Description:
The goal of the interview is to learn more about your business, what you do, and how you got started. Essentially my objective is to showcase you and your business to the community and support shopping local! The interview will be filmed and posted on (Insert Parkbench Website Link) as well as on my own social media. I encourage you to share it with your followers as well!
Common FAQs
Is there a cost?
Nope :) As I am the sponsor of our area's site, there is absolutely no cost to you to be interviewed or be on the site!
How does the interview process work?
Our interview will take place at the location listed above. Please note that it is a video interview so I'll arrive shortly beforehand to set up. And I'll ask between 5-10 questions. Just let me know if you would like them sent ahead of the interview
Is there anything I need to do before the interview?
All that is needed is to review the questions, to help you be better prepared.
Will I be notified after the interview has been posted?
Yes! Both my team, Parkbench, and I will follow up with you. Parkbench will send you info about how you can use the full functionality of the community website. But I'll check in with you to make sure that you've seen it, and give you the link to promote it on social media.
- The event link will automatically become whatever name you give the event, but you can
- The event color can also be changed from this screen if you want to color code your events.

- Next you will need to adjust the Duration for the event.
- Set the Duration for 60 minutes.
- This will allow time for the interview as well as set up and chit chat before and after the interview.
- The last mandatory step is choosing your availability. You can use an existing schedule, or select Custom hours.
- This schedule will be used, alongside your connected calendar, to show potential interviewees available meeting times.
- If you select Custom Hours, you will be prompted to enter your availability in intervals. The steps for this can be found here.
- Click on Save
- Next, click on "Invitee Question"
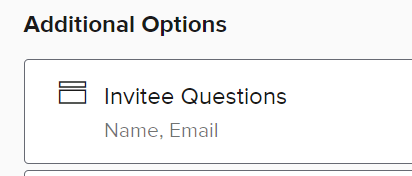
- Select "Add New Question"
- Add "Phone Number"
- Add "Address for Interview"
- Click on Save